Let’s be real. There’s something intimidating about trying anything for the first time, especially when it comes to cannabis. I remember my first pre-roll experience five years ago, fumbling with a lighter while my more experienced friends tried not to laugh. If you’re new to pre-rolls, you might be wondering, “Do I just… light it and inhale?”
The answer is yes, but there’s a bit more to it if you want to avoid common rookie mistakes like harsh coughing fits or watching half your joint go up in flames because you lit it wrong (been there, done that).
What Exactly Is a Preroll?
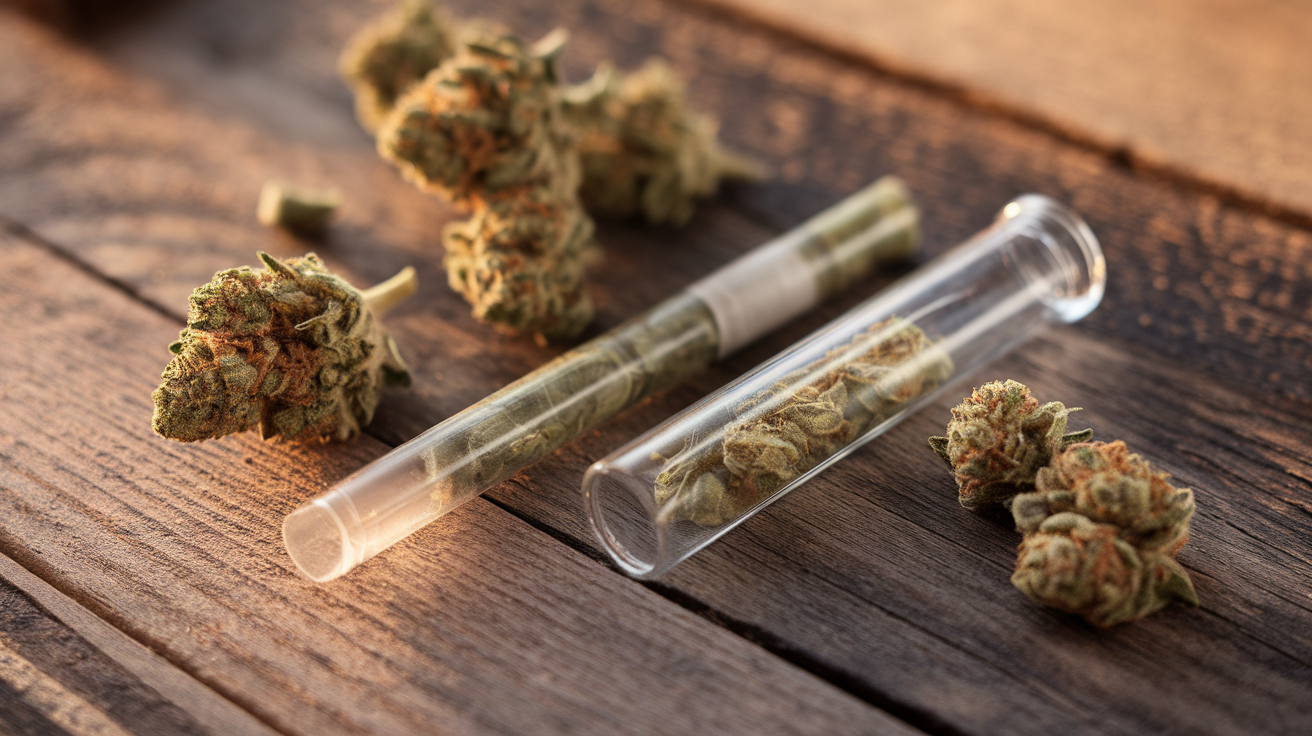
Think of a preroll as the convenience food of cannabis: ready to enjoy without the prep work. It’s simply ground cannabis flower wrapped in rolling paper with a filter at one end (also called a crutch or tip).
The filter serves several important functions:
- Provides structural support to keep the joint’s shape
- Prevents cannabis particles from getting in your mouth
- Keeps the end from getting wet or crushed
- Helps maintain proper airflow while smoking
Pre-rolls come in different varieties:
- Standard preroll: Just cannabis flower in paper, usually in half-gram or one-gram sizes
- Infused preroll: These have concentrates added (like hash or wax) for extra potency. Approach with caution if you’re new!
- Blunts: Cannabis wrapped in a tobacco leaf or hemp wrap instead of paper, which gives a different flavor and burn rate
Pre-rolls can be wrapped in various materials, each offering a different smoking experience:
- Hemp paper: Natural, slow-burning, and environmentally friendly
- Rice paper: Thinner, creates less ash, and allows more flavor through
- Wood pulp: Traditional, easiest to handle for beginners
- Organic options: Made from natural fibers for purists
The beauty of prerolls is that someone else has already done the tricky rolling part for you. All you need to do is light it up and enjoy.
Before You Light Up: Setting Yourself Up for Success
Creating the right environment is crucial for an enjoyable experience. Consider:
- Lighting: Soft, comfortable lighting helps set a relaxing mood
- Music: Queue up your favorite playlist
- Comfort: Gather cushions or comfortable seating
- Snacks and drinks: Have them ready before you start
- Time: Make sure you have no immediate obligations
Before diving in, take a minute to set yourself up for a good experience:
- Check your pre-roll: Take it out of its tube or container and look for any tears or damage. A well-made pre-roll should feel firm but not too tight.
- Create your space: Find somewhere comfortable and legal to smoke. I prefer my back porch with some chill music playing, but your perfect spot might be different.
- Know your limits: You don’t need to finish the whole thing. I’ve seen too many first-timers try to power through an entire joint and end up having a not-so-great time. Start slow; you can always come back to it later.
- Have water nearby: Trust me on this one. Your throat will thank you.
- Check your pre-roll thoroughly: Remove it carefully from its packaging and inspect for:
- Even distribution of cannabis
- No tears or weak spots in the paper
- Filter firmly in place
- Proper rolling tension (should feel firm but not too tight)
Lighting Up: The Step-by-Step Guide
Step 1: Get to Know Your Pre-Roll
Hold the preroll with the filter end (the firm cardboard-like tip) facing you. This is the end that goes in your mouth. The other end, usually twisted closed, is what you’ll light.
Step 2: The Perfect Light
Pre-rolls require more patience to light properly than cigarettes. Here’s the perfect technique:
- Place the filter end between your lips
- Hold your lighter to the twisted tip (not touching it directly)
- Important: Rotate the pre-roll slowly while applying the flame
- Don’t inhale yet; instead, take gentle “primer puffs” to establish an even burn
- Watch for the “cherry” to form completely around the tip
- Once you see an even red glow, wait a moment before your first real puff
A mistake I made early on was inhaling too deeply while lighting, which creates an uneven burn called “canoeing” (when one side burns faster than the other). Instead, take little “sips” until it’s evenly lit.
Step 3: The Proper Inhale
Now for the main event:
- Take a slow, steady draw of smoke into your mouth first
- Then inhale it into your lungs (but not too deeply if it’s your first time)
- Hold for just a second or two, not the 10+ seconds that old-school myths suggest
- Exhale smoothly
If you start coughing (which happens to everyone), take smaller puffs or try the “mouth-to-lung” technique: draw smoke into your mouth first, then inhale it into your lungs in a second step.
Step 4: Maintaining an Even Burn
Keep an eye on how your pre-roll is burning. If one side is burning faster (canoeing), there’s a quick fix:
- Rotate the pre-roll so the faster-burning side is on the bottom
- Lightly wet your finger and run it along the fast-burning paper edge
- Apply your lighter to the slower-burning side to even things out
I learned this trick from a budtender who saved me from wasting half my joint!
Common Rookie Mistakes (And How to Avoid Them)
After watching countless friends try their first pre-roll, I’ve noticed some patterns:
- Inhaling while lighting: This creates an uneven burn. Just take gentle puffs until it’s lit.
- Not rotating the joint: Give it a quarter turn between puffs for an even burn.
- Holding the smoke too long: The cannabinoids absorb quickly; holding longer just irritates your lungs.
- Pulling too hard: This makes the pre-roll burn too hot and can be harsh on your throat. Gentle, steady draws work best.
- Forgetting to ash: Tap off the ash occasionally to keep your pre-roll burning properly.
Saving It For Later
Don’t feel pressured to finish your pre-roll in one session. To put it out:
- Gently press the lit end against an ashtray until the cherry is extinguished
- Don’t crush or twist it; this can damage the structure
- Make sure it’s completely out (no more smoke or glow)
- Once cool, store it in a doob tube or airtight container
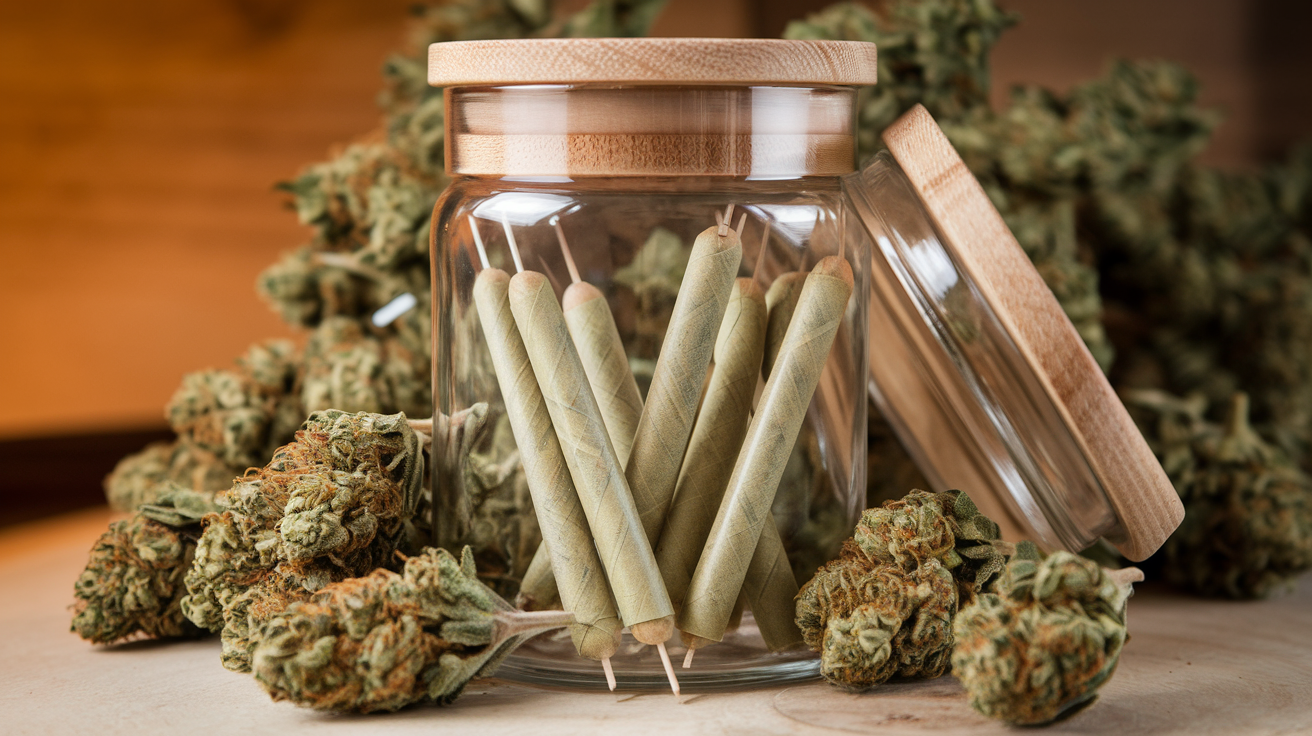
For longer-term storage:
- Use an airtight container like a Mason jar
- Store in a cool, dark place
- Avoid refrigerators or freezers (the moisture can damage the pre-roll)
- Keep away from excessive heat or direct sunlight
- Consider using humidity control packs for optimal preservation
A properly stored, half-smoked pre-roll can stay good for a day or two. Just be aware that relighting can taste a bit harsh.
Finding Your Sweet Spot
Everyone’s cannabis journey is different. My first pre-roll experience left me way too high because I didn’t pace myself. Now I know that 3-4 puffs is my sweet spot for a social setting, while a full joint is more of a “movie night at home” situation.
Pay attention to how you feel, and remember that the effects typically peak about 15-30 minutes after smoking. Give yourself time between puffs to gauge how you’re feeling.
Legal Considerations
Remember to check your local cannabis regulations, as laws vary by location. Always consume responsibly and be aware of:
- Local possession limits
- Public consumption laws
- Age restrictions
- Transportation guidelines
Final Thoughts
Pre-rolls are one of the most accessible ways to enjoy cannabis, especially for beginners. There’s no shame in not knowing how to smoke one perfectly your first time; we all start somewhere!
The key is to start slow, being mindful of your technique, and creating an environment where you feel comfortable. Before long, you’ll be handling pre-rolls like a pro. You might even find yourself helping out the next nervous newbie in your circle.
What other cannabis questions do you have? Drop them in the comments. I’ve probably made that mistake or had that confusion, too!