I’ve been rolling joints for over five years now, and let me tell you, there’s something deeply satisfying about crafting the perfect roll. Whether you’re new to the scene or looking to level up your skills, I’ve got you covered with everything I’ve learned through countless rolls (and yes, plenty of fails along the way).
What Makes a Perfect Joint Worth the Effort?
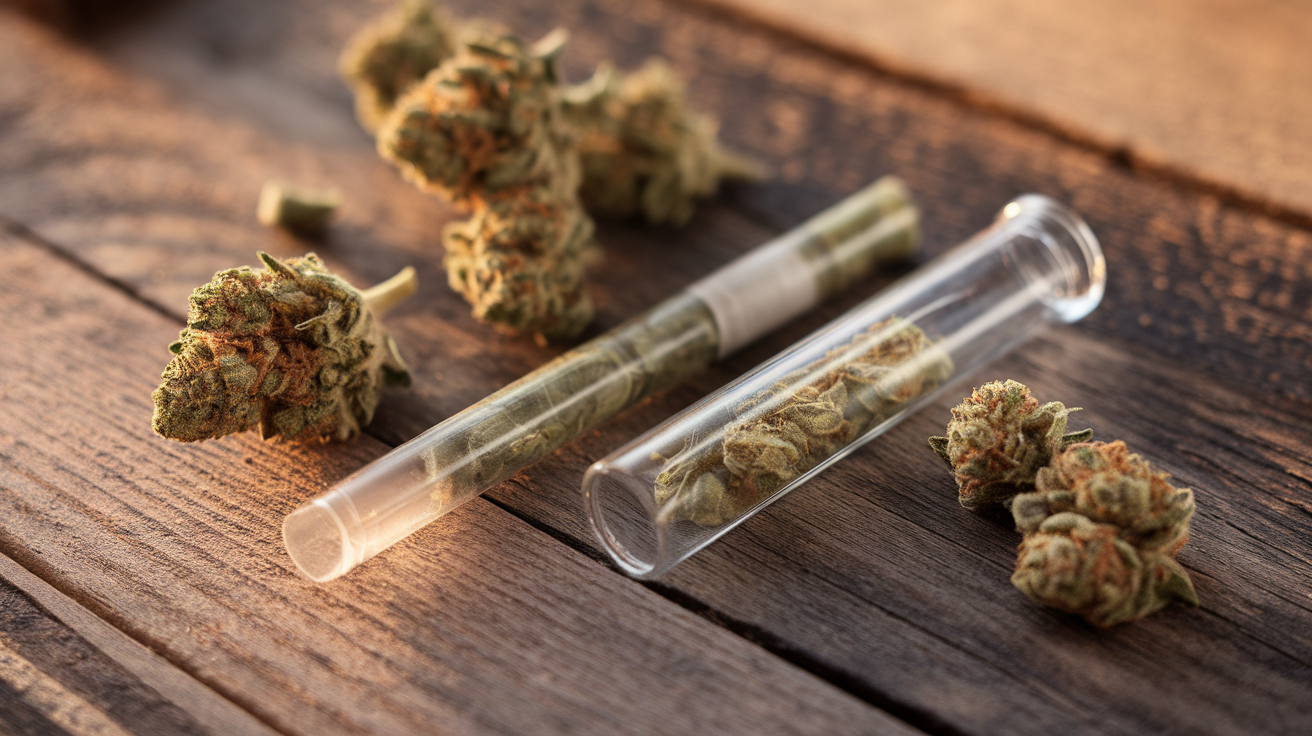
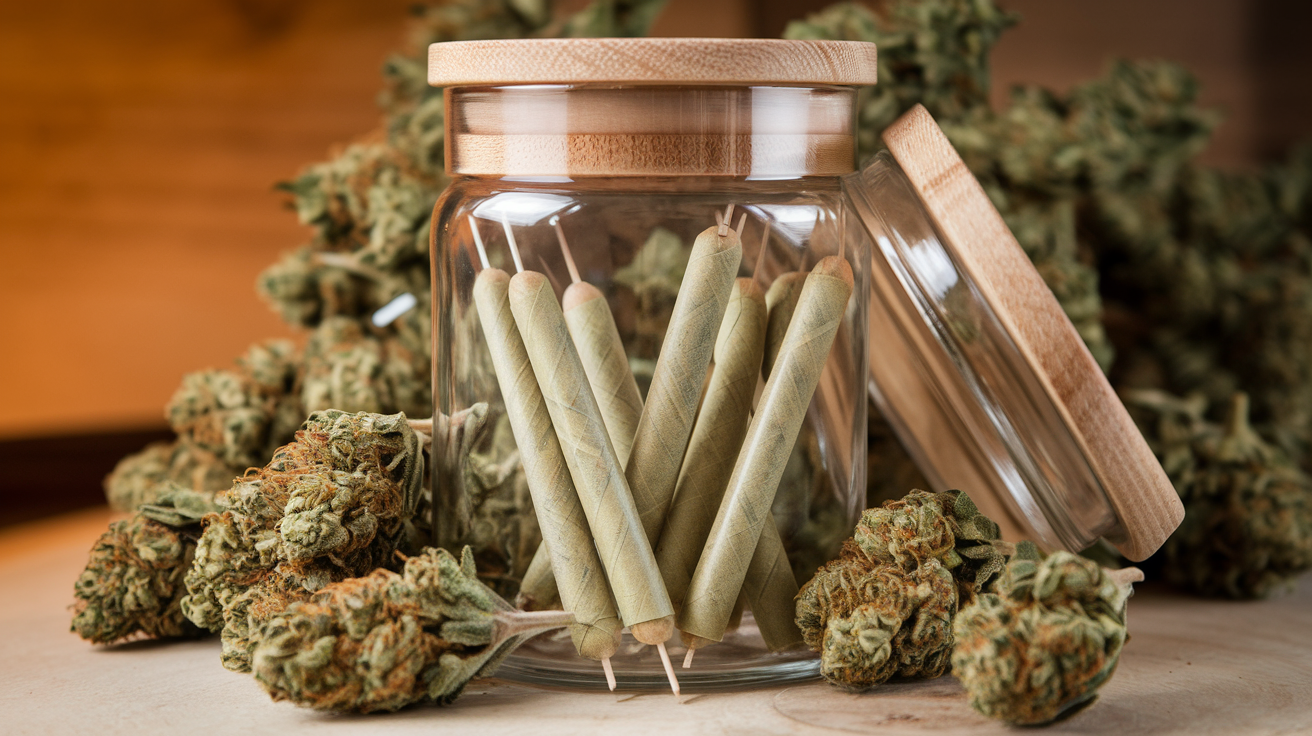
A well-rolled joint isn’t just about looks, it’s about function. When done right, you get an even burn, smooth draws, and the full flavor of your bud. I spent my first year smoking poorly-rolled joints that ran (burned unevenly down one side), clogged, or fell apart mid-session. Trust me, the difference between a mediocre and a perfect joint is night and day.
Gathering Your Supplies
Before we dive in, let’s make sure you’ve got everything you need:
The Cannabis
Quality matters here. I’ve found that fresh, slightly sticky bud works best. Too dry, and it burns too quickly; too wet, and it won’t burn properly. For beginners, start with about half a gram. And please, take out those stems! Nothing ruins a good roll faster than a stem poking through your paper.
Rolling Papers
This is where personal preference comes in.
Papers come in various materials, each affecting your smoking experience:
- Hemp papers: My current go-to. Natural feel with minimal impact on flavor
- Rice papers: Ultra-thin for purists who want minimal paper taste
- Flax papers: Slightly thicker and more forgiving for beginners (like the RAW classics I started with)
- Wood pulp papers: Most traditional, often bleached white
Size-wise, you’ve got options:
- Single Wide (70-78mm × 28-44mm): Perfect for solo sessions
- 1¼ size (76-78mm × 45-48mm): My personal sweet spot
- King Size (100-110mm × 55-60mm): Ideal for sharing with friends
- Paper rolls: For customizing length when you’re feeling ambitious
Bleached papers burn cleaner visually, but unbleached options (usually tan/brown) have fewer chemicals and a more natural experience.
Pro tip: Keep your papers in a dry place. I once tried rolling with papers I’d left in a humid bathroom and it was a total disaster.
The Crutch (Filter Tip)
Don’t skip this! A good crutch:
- Prevents weed from falling into your mouth
- Gives you something to hold onto
- Keeps the end from getting soggy
- Improves airflow
I make mine from business cards or the cardboard in rolling paper packs (though you can buy pre-made tips if you prefer). Here’s my foolproof method:
- Cut a piece of thin cardboard about 3/4 inch wide by 1.5-2 inches long
- Create 3-5 small accordion folds at one end (making a “W” or “M” shape)
- Roll the remaining cardboard around these folds to create a cylinder
- The accordion pattern is crucial, it prevents cannabis from pulling through while maintaining perfect airflow
The ideal crutch should be firm but not too tight, allowing smooth draws without restriction.
Grinder
After trying to break up bud with my fingers for months (rookie mistake), I invested in a decent 4-piece metal grinder. Absolute game-changer. Here’s why metal beats plastic:
- More durable and easier to clean
- Sharper teeth for consistent grinding
- Often includes a kief catcher for collecting trichomes
You want your cannabis ground to be consistent with the texture of dried oregano. Not too fine (it’ll burn too fast and might clog your airflow) and not too chunky (it’ll burn unevenly). Clean your grinder regularly with isopropyl alcohol and a small brush to keep it performing at its best.
Optional But Helpful
- Rolling tray: Saves weed and keeps your space clean
- Packing tool: A pen, chopstick, or actual packing tool
- Small scissors: For trimming excess paper
The Step-by-Step Process
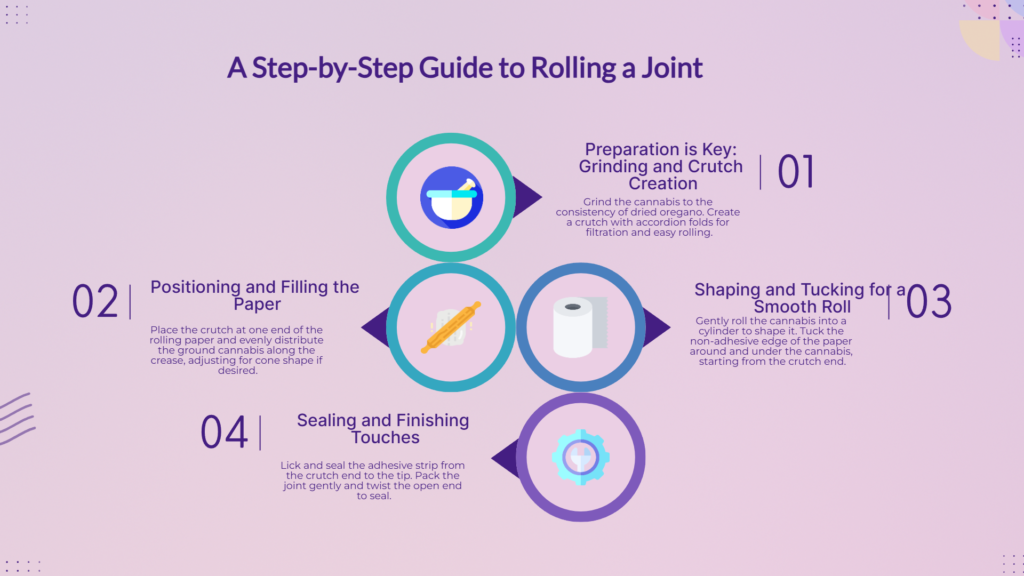
1. Grind Your Cannabis
Give your bud a good grind. I aim for the consistency of dried oregano, not powder, not chunks. If your grinder has a kief catcher, you can sprinkle some of that goodness in for extra potency.
2. Create Your Crutch
Take your cardboard strip (about 3/4 inch wide) and make 3-4 small accordion folds at one end. Roll the remaining cardboard around these folds to form a cylinder. The accordion prevents tiny bits of cannabis from getting through while allowing smoke to pass.
I once forgot the crutch until after I’d rolled the joint. Trying to slide it in afterward was a mess. Learn from my mistake!
3. Position Your Paper and Crutch
Hold your rolling paper with the adhesive strip facing up and toward you. Place the crutch at one end (usually the left if you’re right-handed, but do what feels comfortable).
4. Add Your Ground Cannabis
Sprinkle your ground cannabis evenly along the crease of the paper. For a standard joint, distribute it evenly. For a cone shape (which I prefer), put less near the crutch and more toward the other end.
5. The Crucial Shaping Phase
This is where the magic happens. With the paper between your fingers, gently roll back and forth to shape the cannabis into a cylinder. Take your time here. A well-shaped joint is much easier to roll.
6. The Tuck and Roll
Now for the trickiest part. Tuck the non-adhesive edge of the paper around and under your cannabis cylinder, starting from the crutch end (it provides stability). Once you’ve got the tuck started at the crutch, work your way down the length of the paper.
I struggled with this step for weeks when I started. If you’re having trouble, try tucking just the crutch end first, then working your way along.
7. Lick and Seal
Once you’ve got a good tuck along the entire length, lick the adhesive strip lightly (don’t soak it) and seal from the crutch end to the tip. I seal in sections rather than trying to do the whole thing at once.
8. Pack and Finish
Tap the crutch end gently on a hard surface to settle the cannabis. Use your packing tool to gently press down any loose material at the open end. Don’t pack too tight, you need airflow!
Finally, twist the excess paper at the open end to seal it. Some folks like to burn off this “tail” right before smoking, but that’s up to you.
Common Problems (And How to Fix Them)
The Joint Keeps Running (Burning Unevenly)
This used to drive me crazy until I figured out it was usually because:
- The cannabis wasn’t ground evenly
- I hadn’t distributed it evenly in the paper
- The joint wasn’t rolled tight enough
Fix: Grind consistently, distribute evenly, and roll with gentle tension throughout.
Paper Tearing During Rolling
We’ve all been there. Usually happens when:
- Your fingers are too wet
- You’re using too much pressure
- The paper got creased
Fix: Work with dry hands, use gentle pressure, and if a paper gets damaged, just start fresh.
Too Loose or Too Tight
A loose joint burns too quickly and unevenly. A tight joint is hard to draw from.
Fix: For loose joints, practice that tuck and roll technique. For tight joints, don’t overpack and leave a little “give” in your roll.
Advanced Tips From My Playbook
After rolling hundreds (thousands?) of joints, here are some tricks I’ve picked up:
The Inside-Out Roll (Backroll)
This technique uses less paper for a cleaner taste. Roll with the adhesive strip facing down, seal, and then tear or burn off the excess paper. Takes practice, but worth learning.
The Perfect Cone
Start with less material near the crutch and more at the tip. As you roll, angle your fingers to create that classic cone shape. Great for sessions with friends.
The Two-Stage Grind
For truly exceptional joints, I sometimes do a coarse grind first, remove any remaining stems, then do a second, finer grind. Creates the perfect consistency.
The “Boat” Technique
If you’re still struggling with the tuck, try forming a “boat” shape with your paper first by pinching the two long sides upward. This creates a natural valley for your cannabis and makes tucking easier.
Final Thoughts
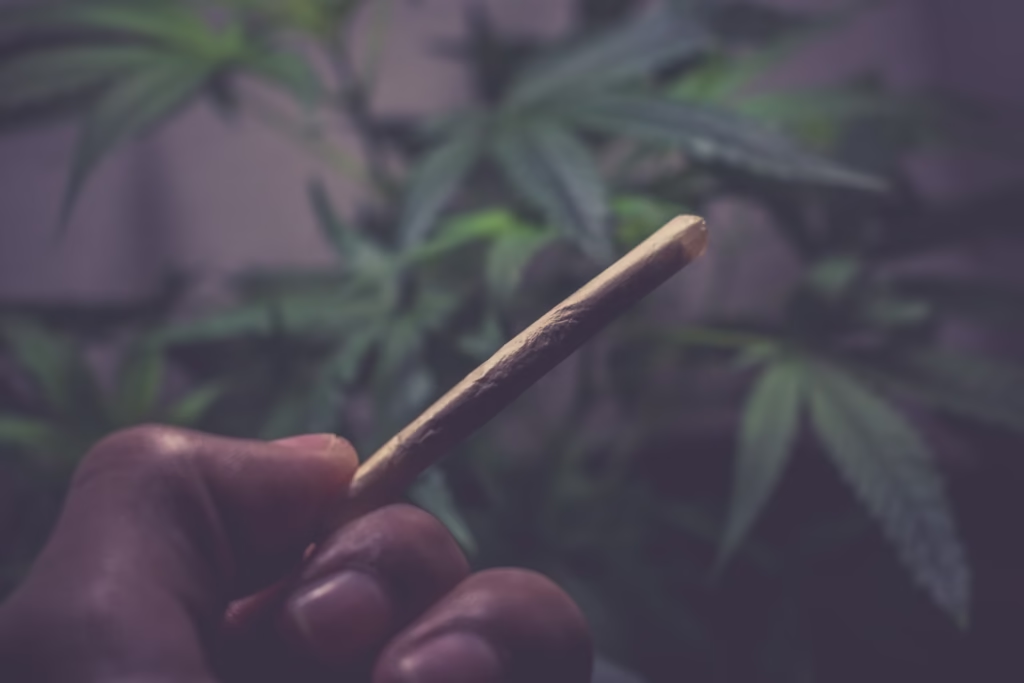
Rolling the perfect joint is part science, part art, and definitely a skill worth mastering. My first attempts were embarrassingly bad, lumpy, loose, and constantly going out. Now I can roll a clean, even-burning joint in under a minute.
Be patient with yourself. Each roll gets better, and there’s something deeply satisfying about sharing a well-crafted joint with friends and having them compliment your rolling skills.
Remember that different strains roll differently, too. Some are stickier, some more brittle. Adjust your technique accordingly, and soon you’ll be rolling perfect joints without even thinking about it.
What’s your biggest rolling challenge? I bet it’s something I’ve struggled with, too. Rolling is a journey, not a destination.